¶ 24VDC Power Supply & Capacity
¶ Steps:
a. Turn machine off and unplug the main power cable.
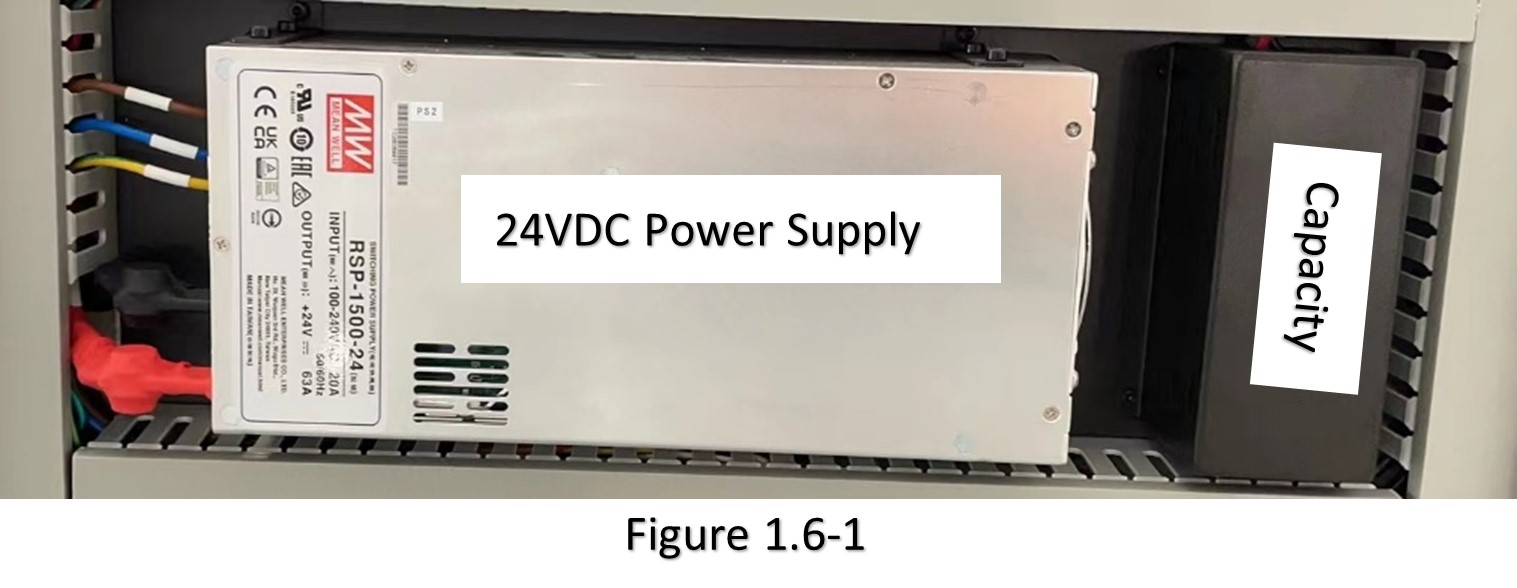
b. 24VDC power supply & capacity are located in the third row of electricity cabinet. Figure 1.6-1

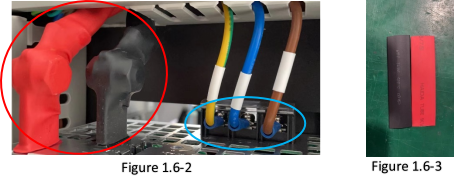
c. Cut the 2 heat-shrinkable tube (red highlighted in Figure 1.6-2), use 13mm wrench to remove the nut and disconnect the cables to power output port.

d. There are 4 brackets at 4 corners of Power Supply. Use 3mm hex screwdriver to remove 4 screws and take power supply out a little together with 4 brackets. (keep an eye on 2 AC-in cables and ground line)
e. Now the 3 screws fixing 2 AC-in cable and ground cable (Figure 1.6-2) are available. Use cross screwdriver to loosen 3 screws a bit and remove cables.
f. Use 3mm hex screwdriver to remove the 4 bracket on Power Supply and do the replacement.
g. The capacity is right beside the Power Supply. It is connected to Power & UPS board. Figure 1.6-1
h. Remove its cover with 2.5mm hex screwdriver.
i. Remove the covers of cable raceway shown in Figure 1.6-4 j. Unplug the cable connect in power & UPS board (Red highlighted Figure 1.6-4), and take the cable out of cable raceway.
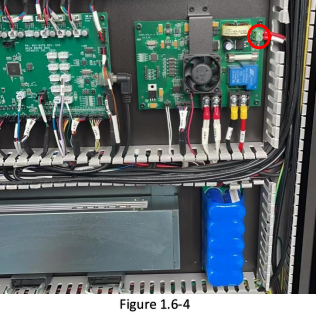
k. Remove 4 screws at 4 corners of capacity with 2.5mm hen screwdriver and take Power Supply off with the cable. l. When install the new power supply, make sure to apply heat-shrinkable tube to wrap the power connection as insulation. Figure 1.6-3
