¶ 2.6 Build-plate Heater
1. Click on “Tool” – “Axis” in touch screen, and move build-plate to the height probably 2/3 of the way up.
2. Disconnect main power. Remove back cover with knob wrench. Figure 2.6 - 1

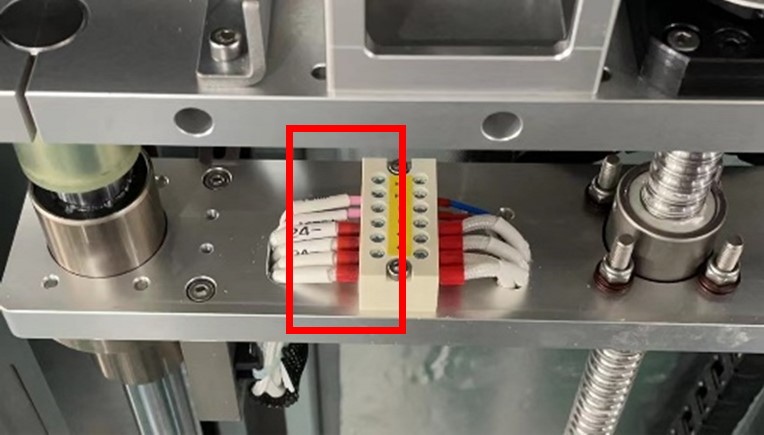
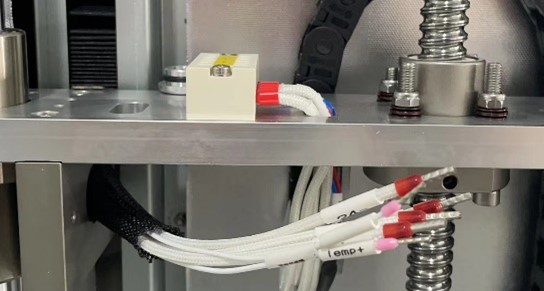
3. Locate the terminal of cable connection of chamber heater. Loosen the screws and remove all cables of the heater from the terminal. Figure 2.6 - 2, Figure 2.6 - 3 (It is recommended to take photos before removing cables)

|

|
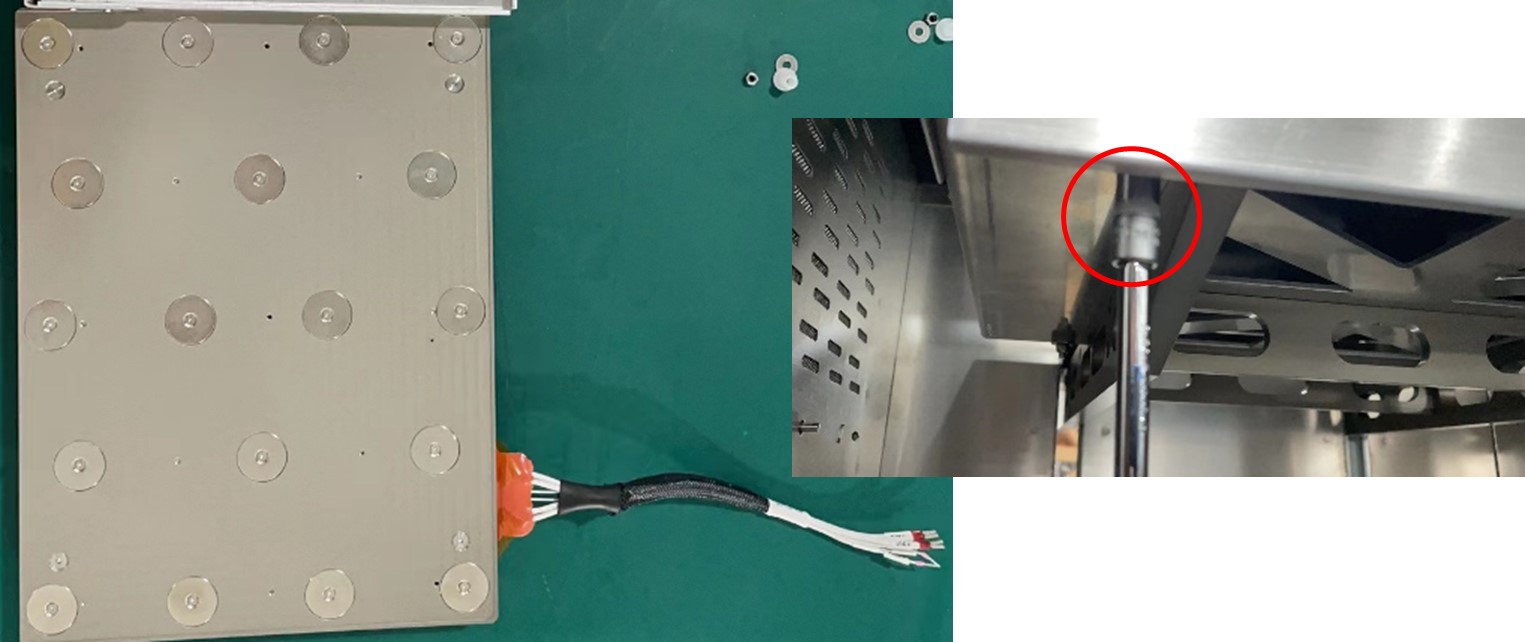
4. Remove the 4 nuts underneath the build-plate assembly with 8.0 mm socket screwdriver. (Figure 2.6 - 4, notice the washers and white plastic filler)

5. Carefully lift the upper build-plate up away from its mounting, pull its cable out while take the upper build-plate out of chamber. (Notice the 4 springs aligning to the screw holes at 4 corners)
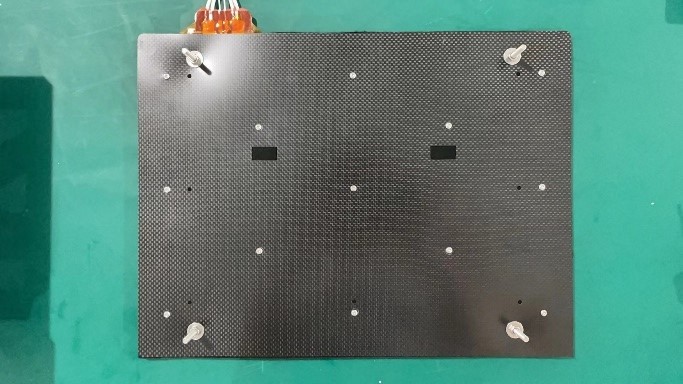
6. Flip the upper build-plate over, remove all the screws and nuts on the carbon fiber sheet to separate the sheet and the heat insulation foam from heater. (Figure 2.6 - 5)

7. Remove the black wrap from the cable of old one and put it onto the new one if the new one hasn’t it.
8. For recovery, put the 4 springs on the mounting, insert the cable into the hole in left arm. Then, put the upper build-plate back to the mounting, while aiming the long screw underneath it to the 4 springs. Put the white plastic fillers and washers back from the bottom, and tighten the nuts all the way up with 8.0 mm socket screwdriver.
9. Recover the cables to the terminal follow the label (pictures taken before as well)
10. Power on machine, do the manual leveling and auto leveling again. (loosen the 4 nuts for 3 rounds before manual leveling)