¶ LAN Connection
¶ Wifi Connection
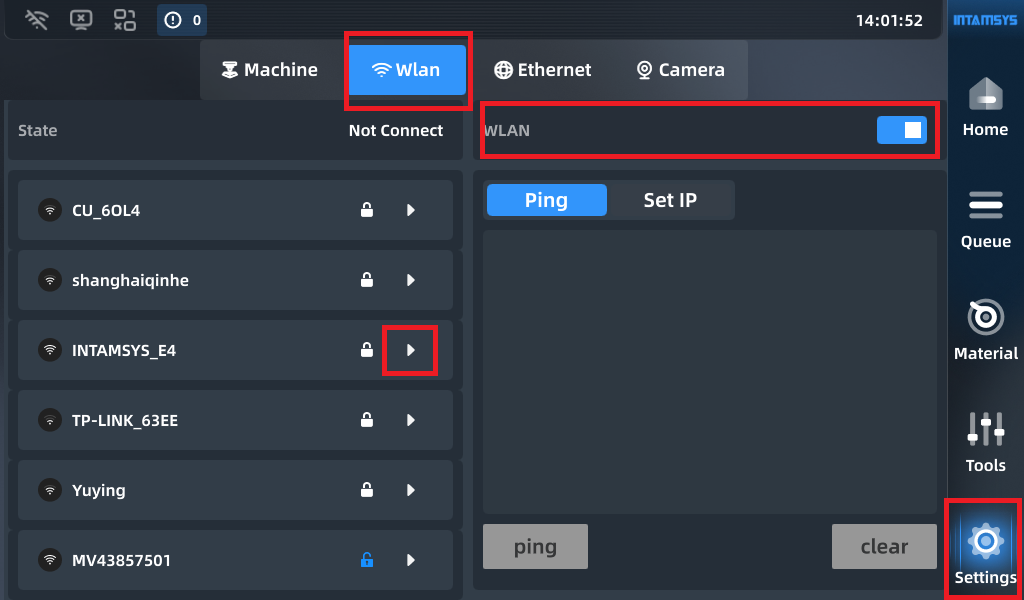
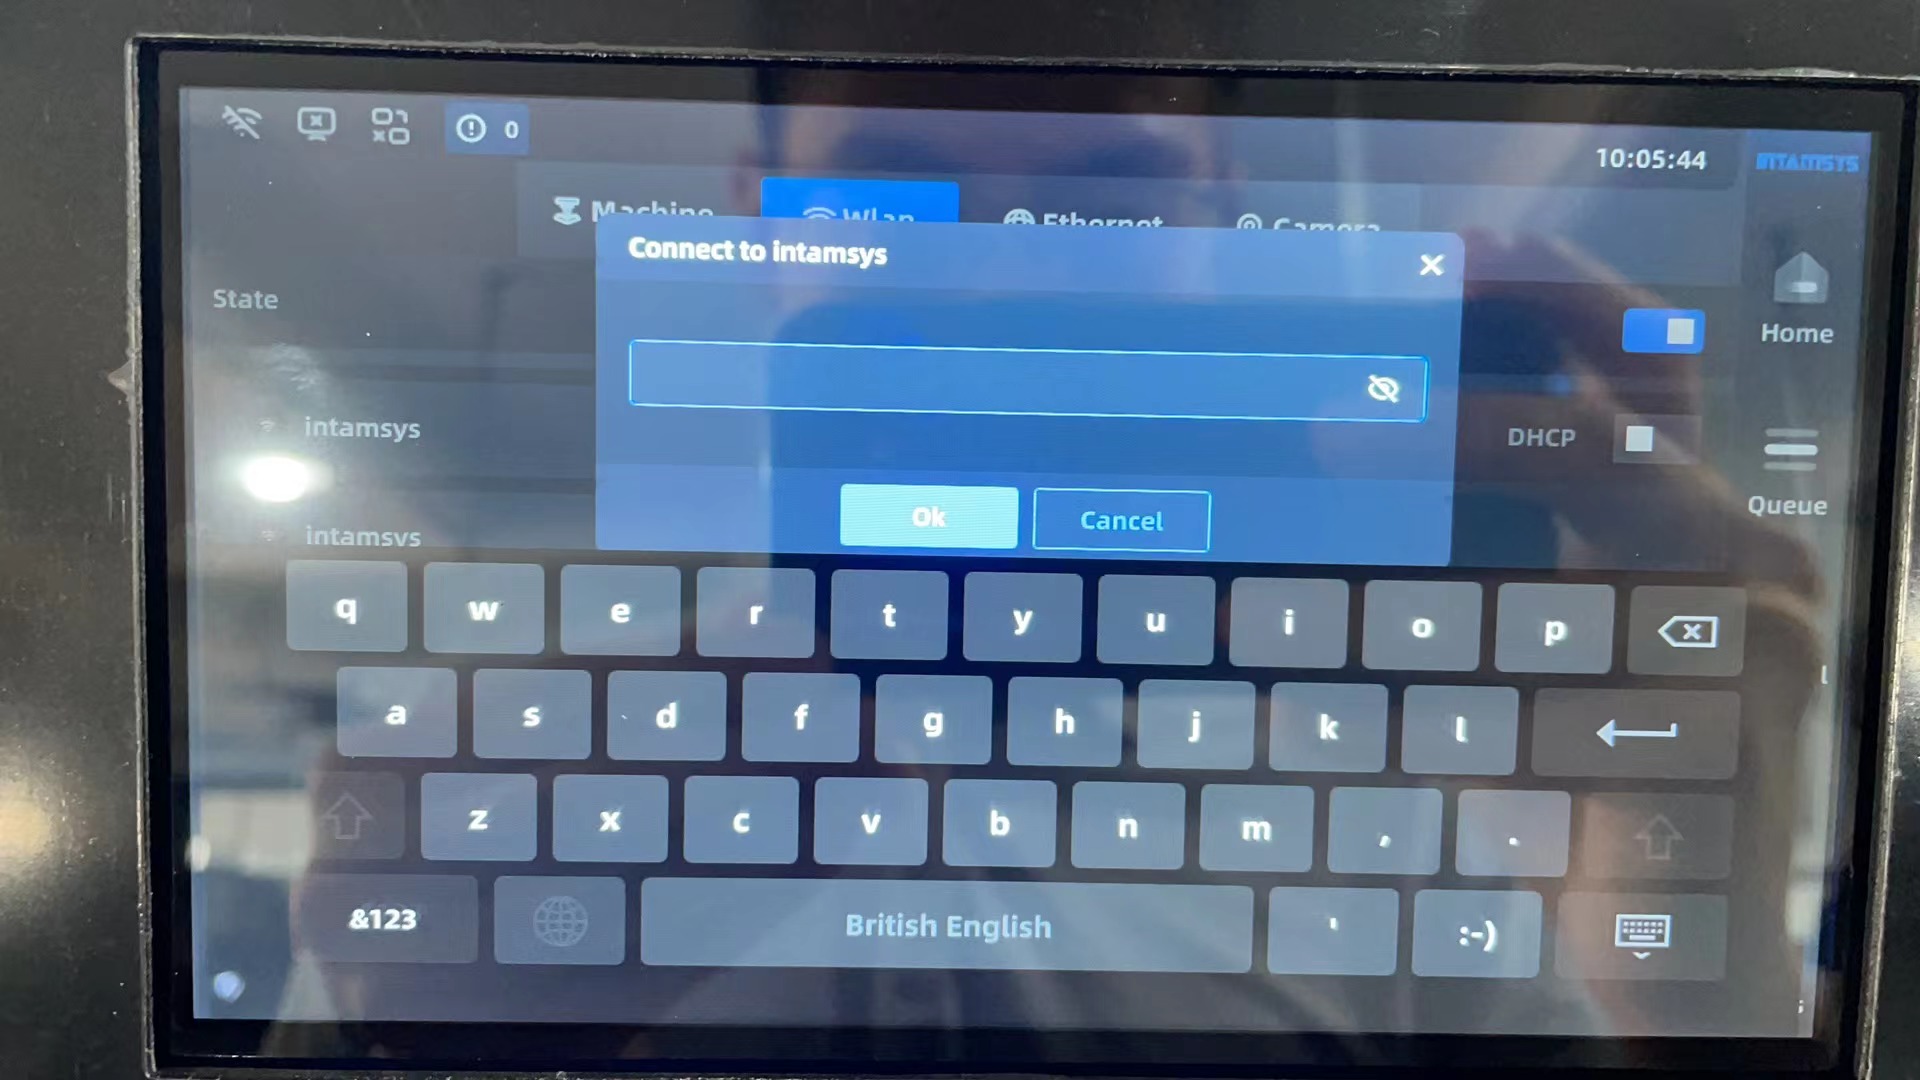
1. Select “Setting” - “Wlan” in UI, and turn the “WLAN” on. Then, you are able to see all available WIFI network in the left list. Then, select the WIFI that you want, and input the password. Figure - 1 & 2.
|
|
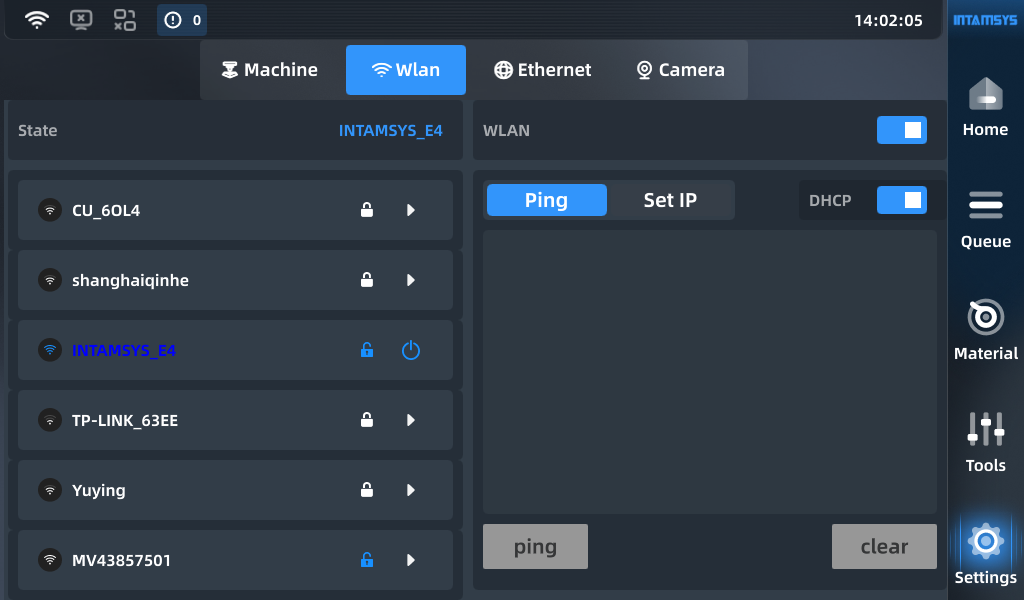
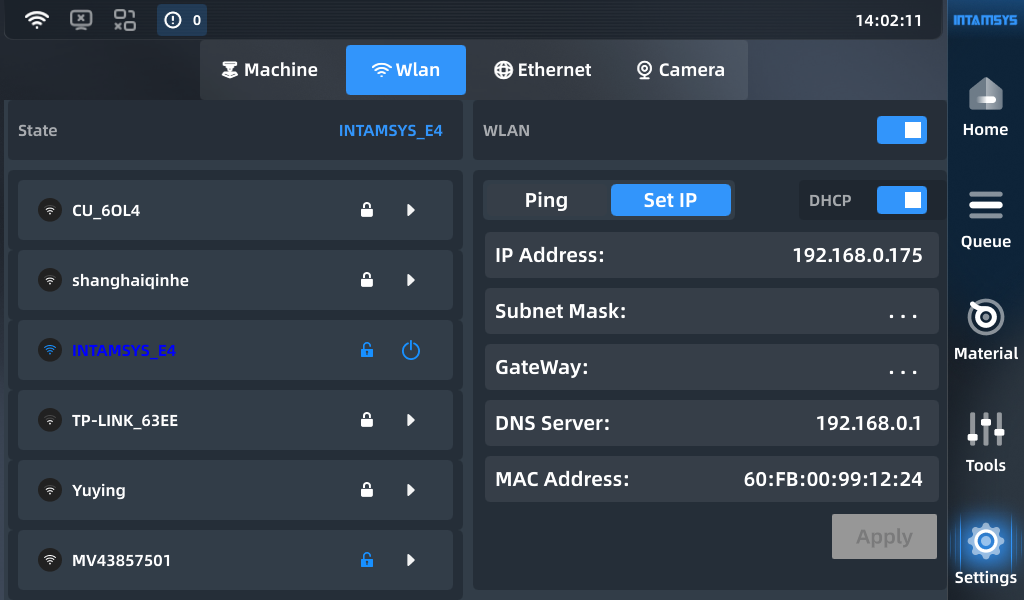
2. When it was connected, turn the “DHCP” on, and click “set IP” to view the IP address. ("Static IP address" does not work so far) Figure 3 & 4.
|
|
3. Afterwards, it is available to send G-code files via FTP. Open file explorer, and input “ftp://192.168.0.175” (for example, the IP in figure - 4), input - user name: root, password: intamsys.

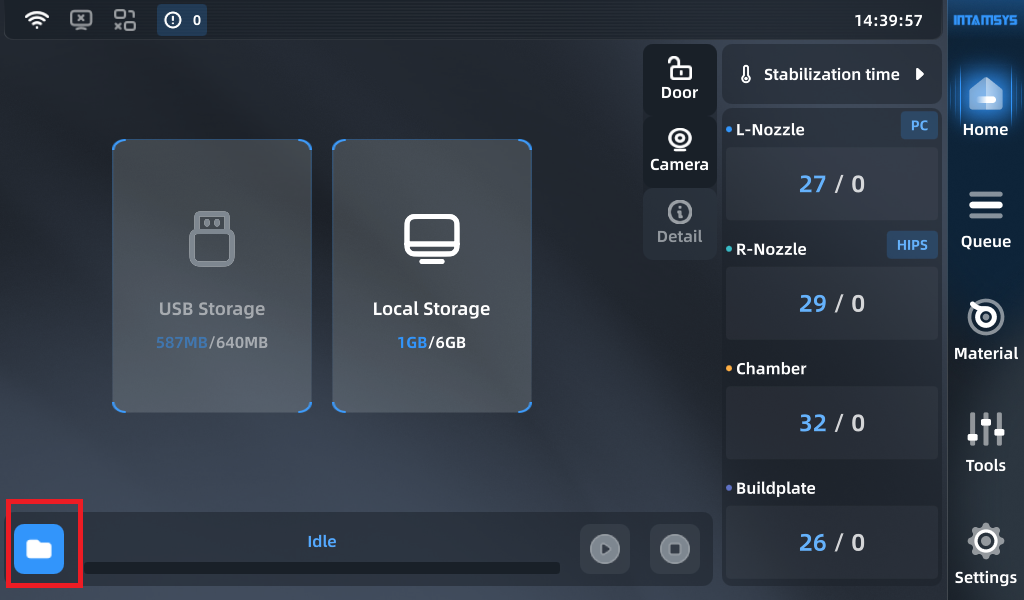
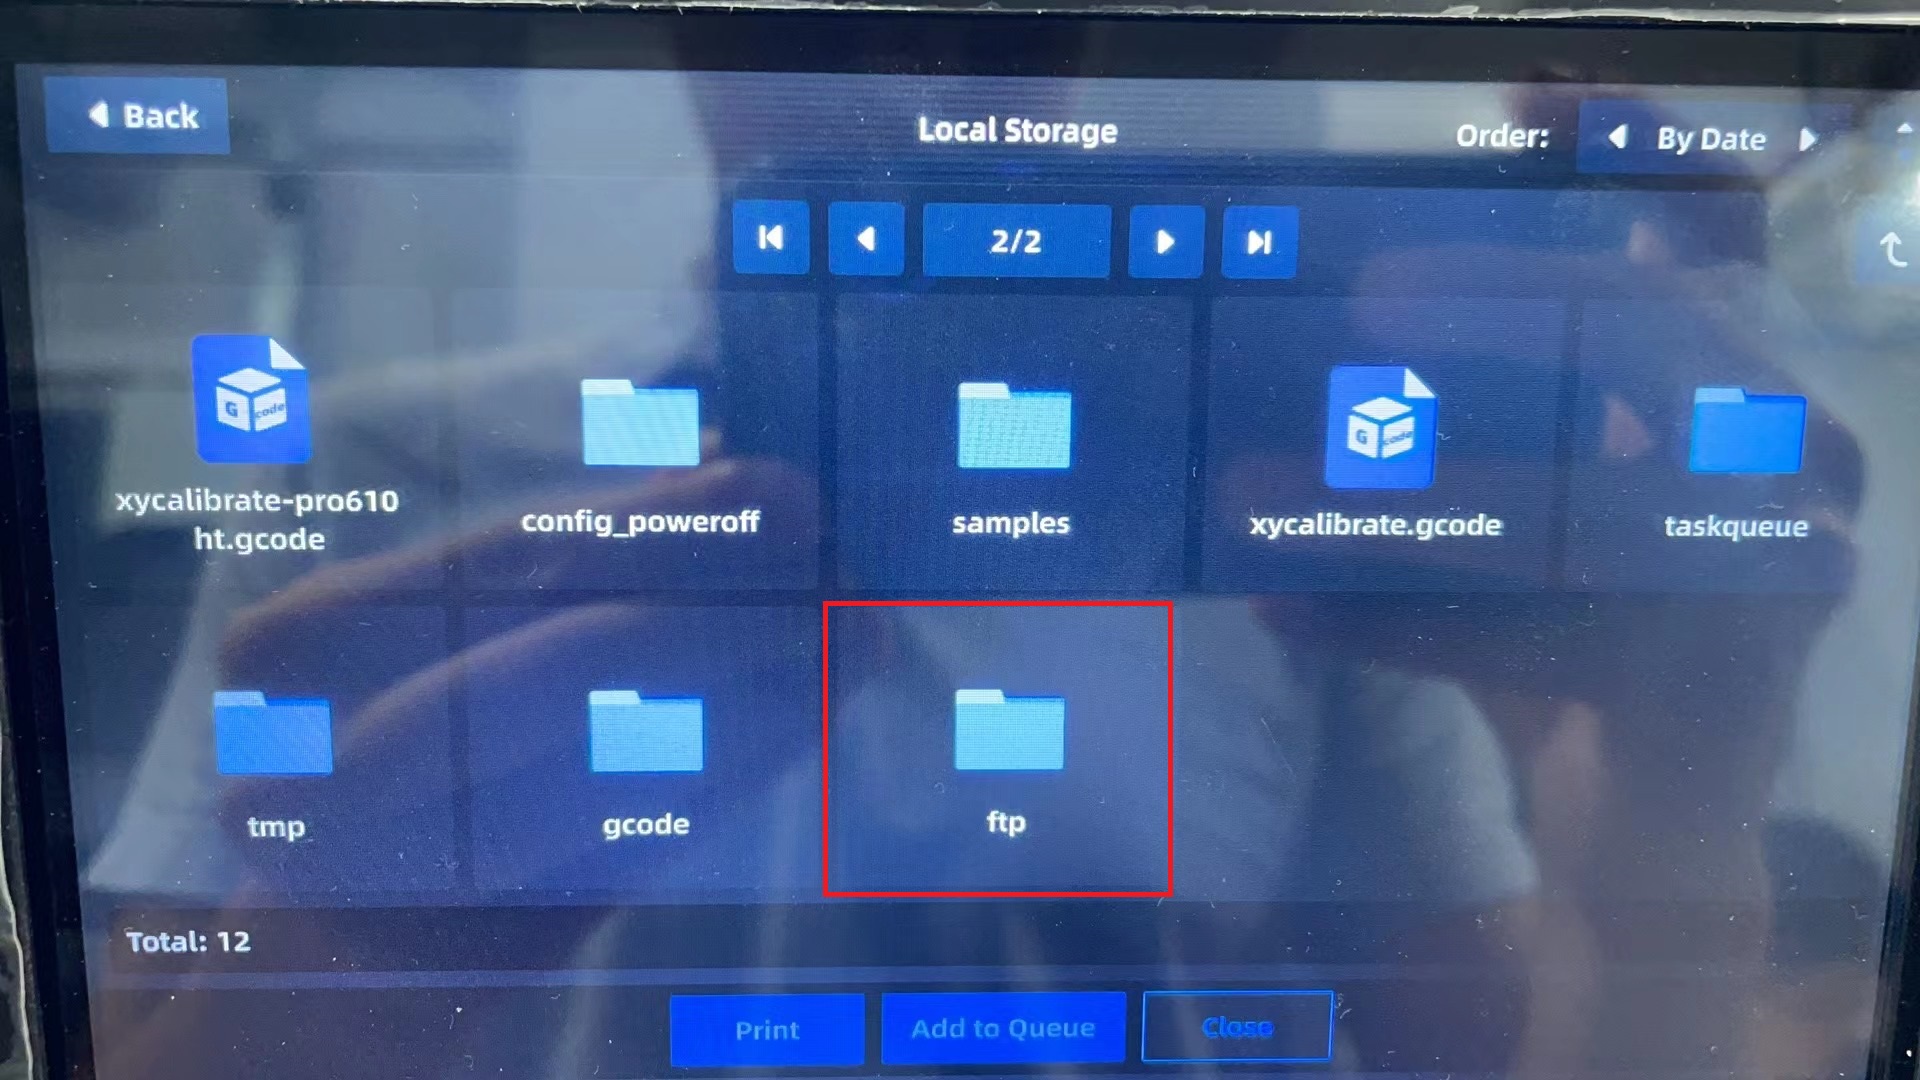
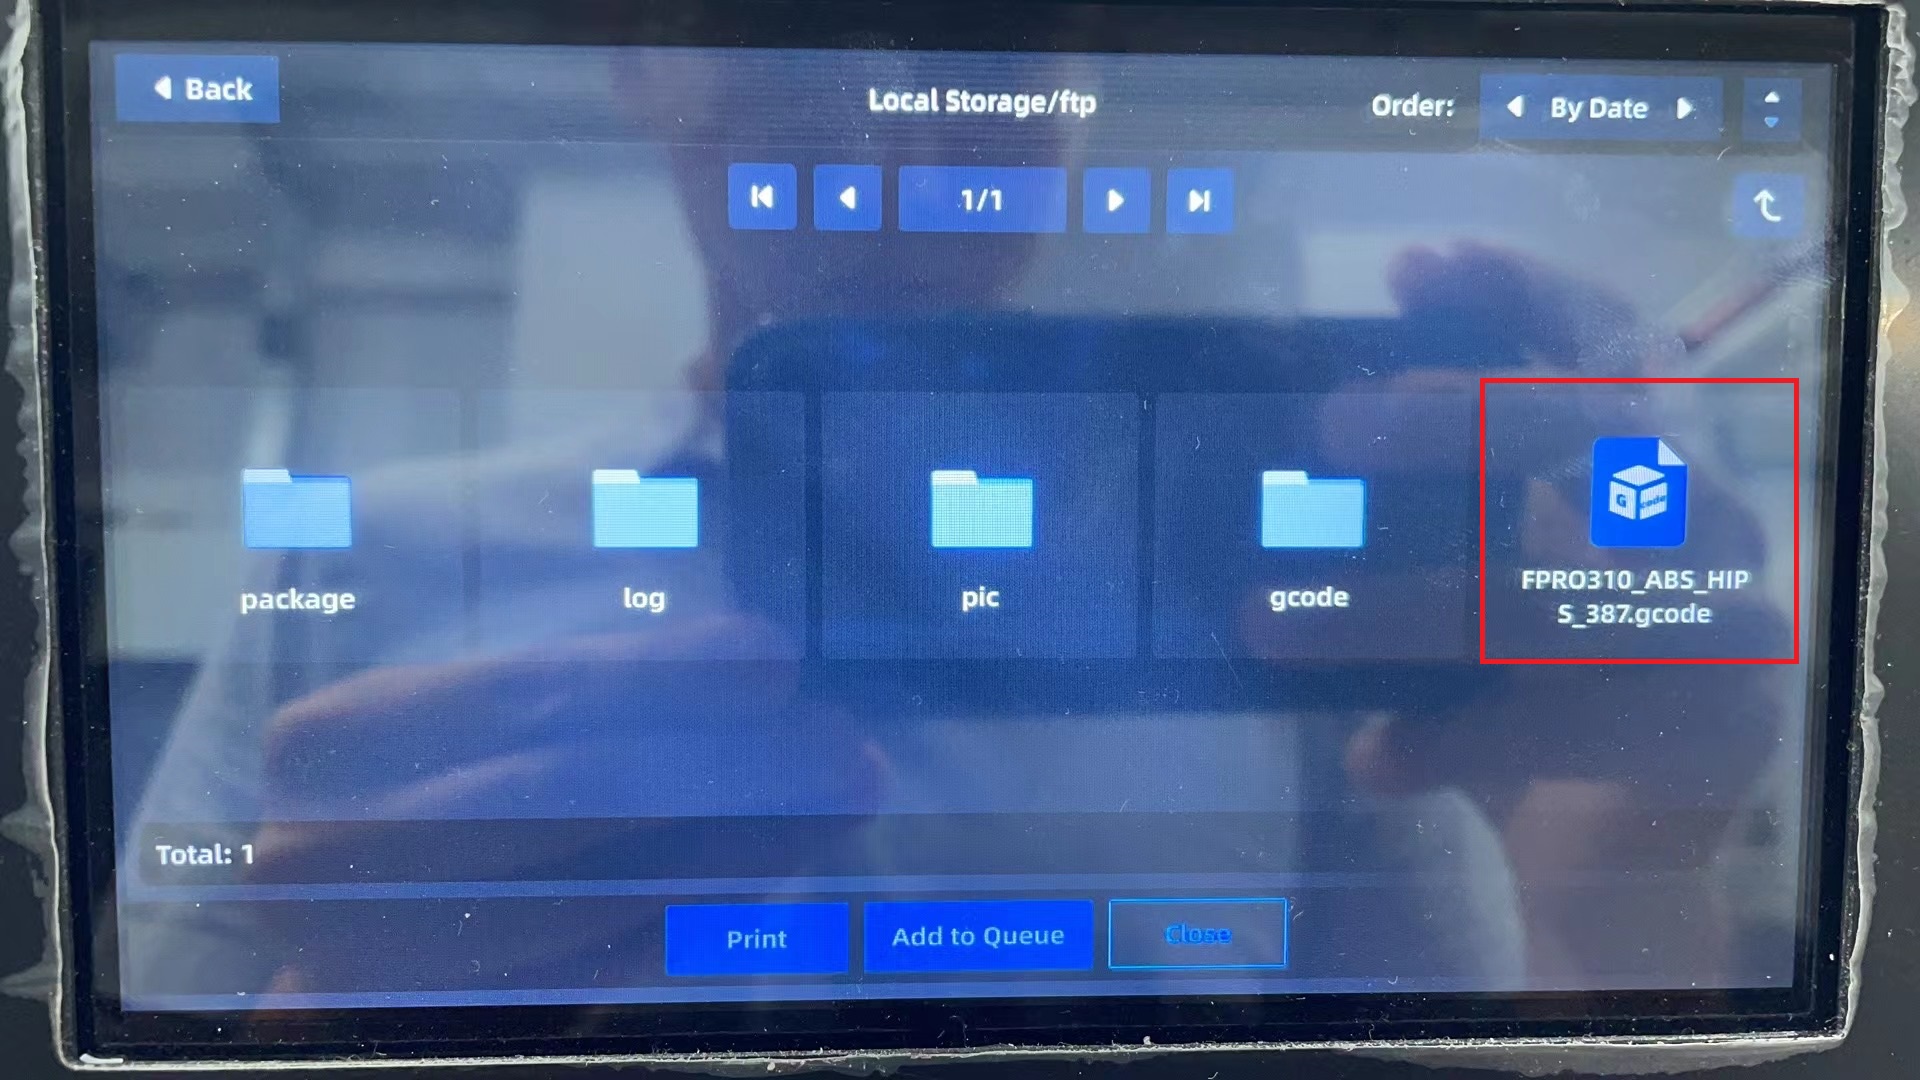
Just Copy and paste the G-code file here, and open it in the UI and start the printing. Figure 6,7,8,9.

|
|
|
|
¶ Wired Ethernet Connection - LAN
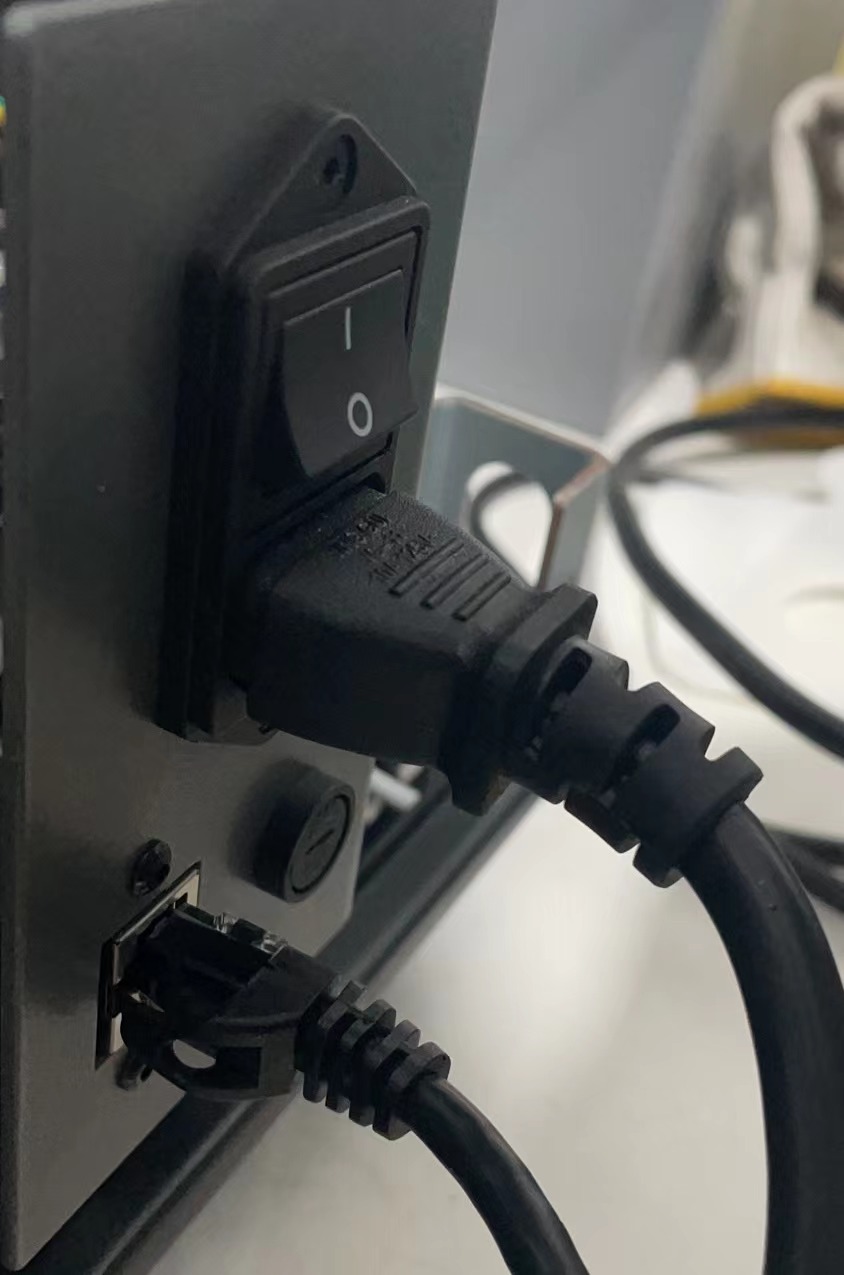
- Insert ethernet cable for LAN connection. Figure - 10
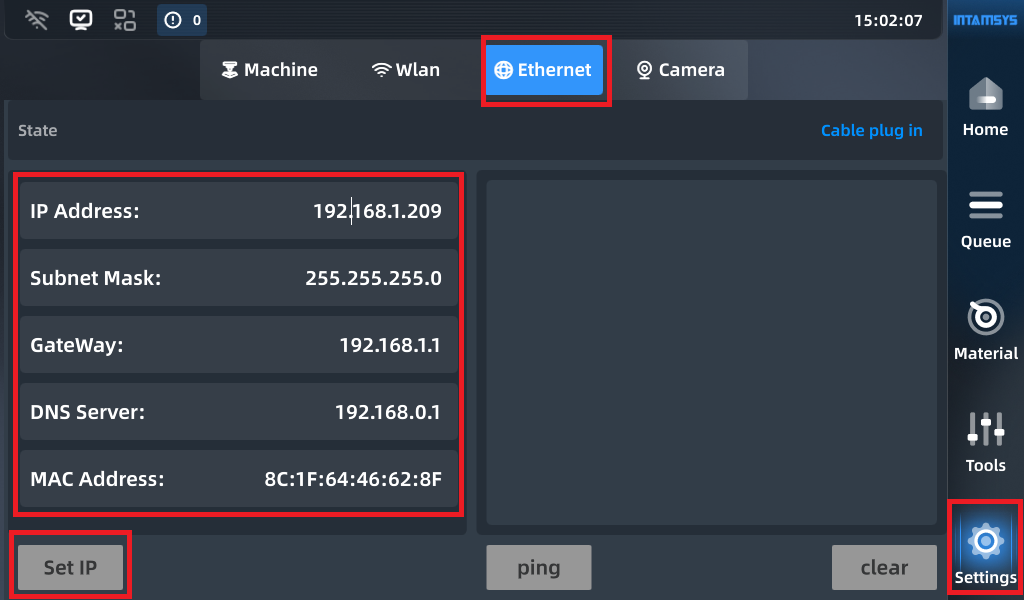
- Go to “Setting” - “Ethernet” in UI, and input static IP and else related. Then, click “Set IP” to complete it. (The gateway should be the same to your HUB, and there should be no IP conflict in the LAN) Figure - 11
|
|
¶ Wired Ethernet Connection - PC to Printer directly
- Firstly, connect your PC with the printer via ethernet cable directly.
- Go to printer's screen, click “Setting” - “Ethernet” , input static IP and else related. Then, click “Set IP” to complete it. (The gateway should be the same to the one you set in your PC, if you don't know how to set them, please input the contents that below picture shows)

|

|
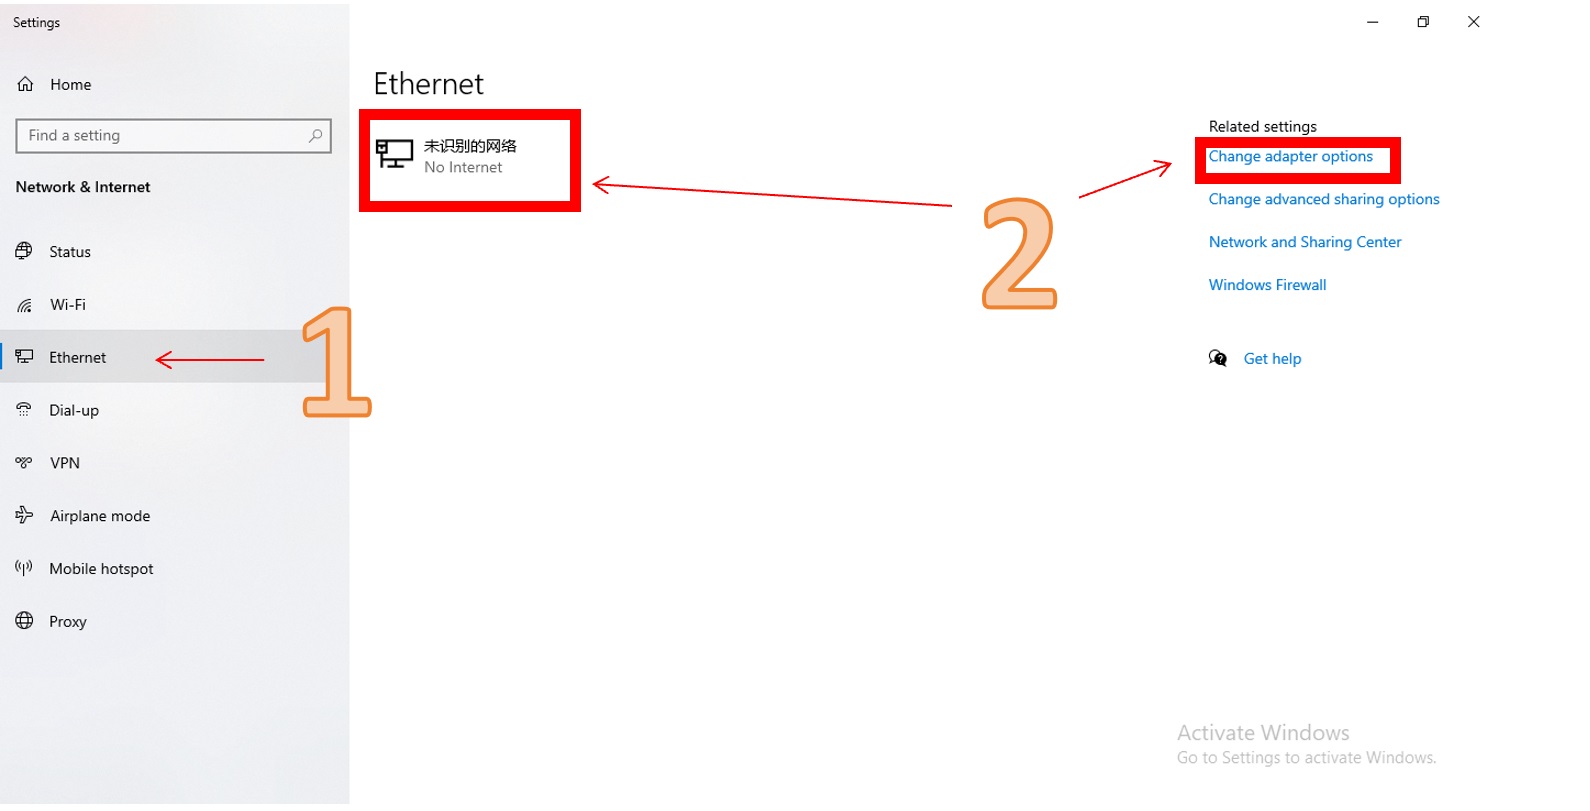
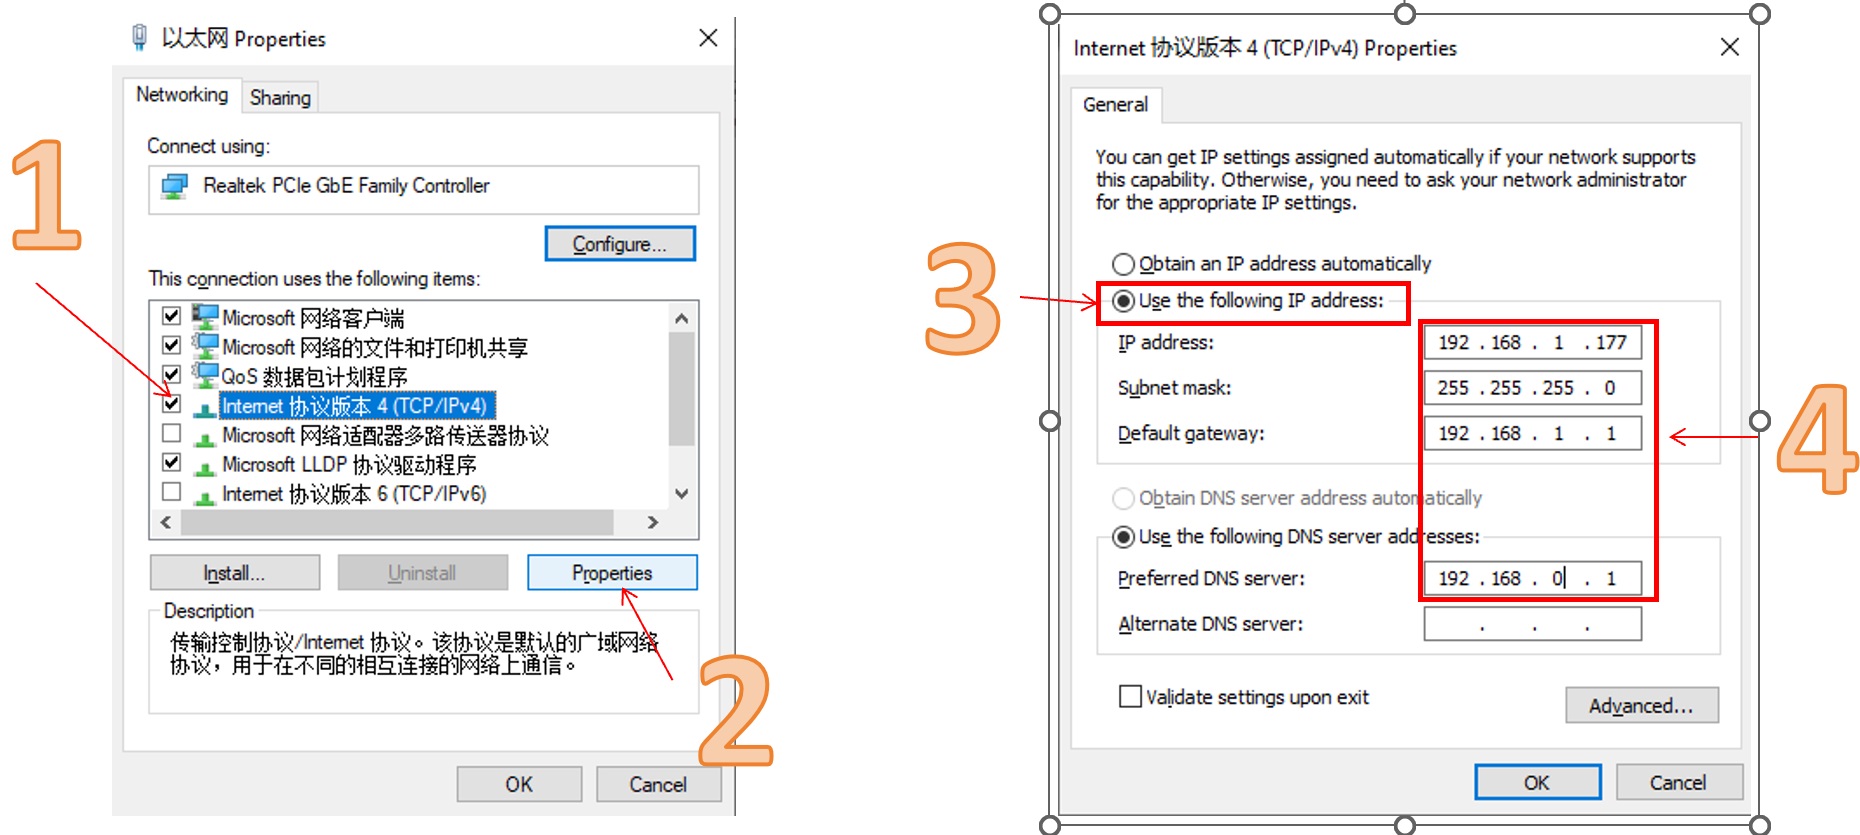
3. Move to your PC. Turn the WIFI off. Go to “Settings” - “Ethernet” - “change adapter options” - select “TCP/IPv4” - “Use the following IP address”, then input the static IP address, Subnet Mask, Gateway & DNS (If you don't know how to set them, please input the settings as below photo shows). Notice, the gate way must be the same to the one you set in printer.
|
|
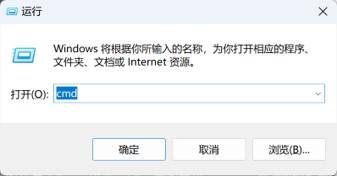
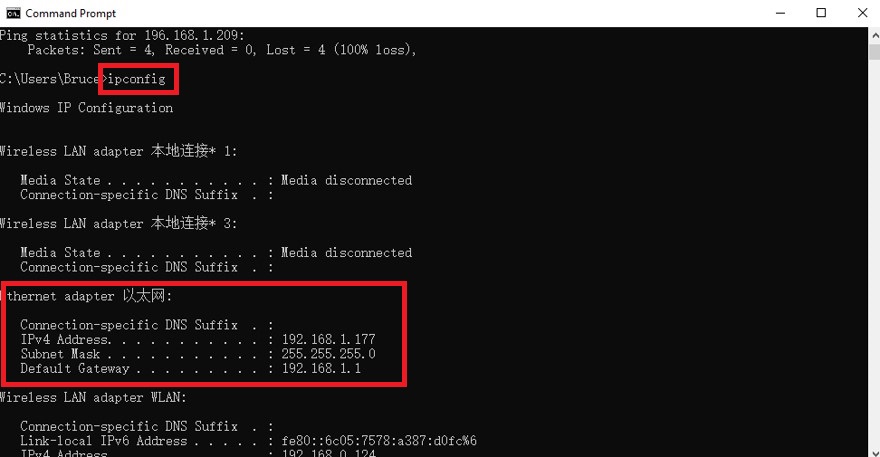
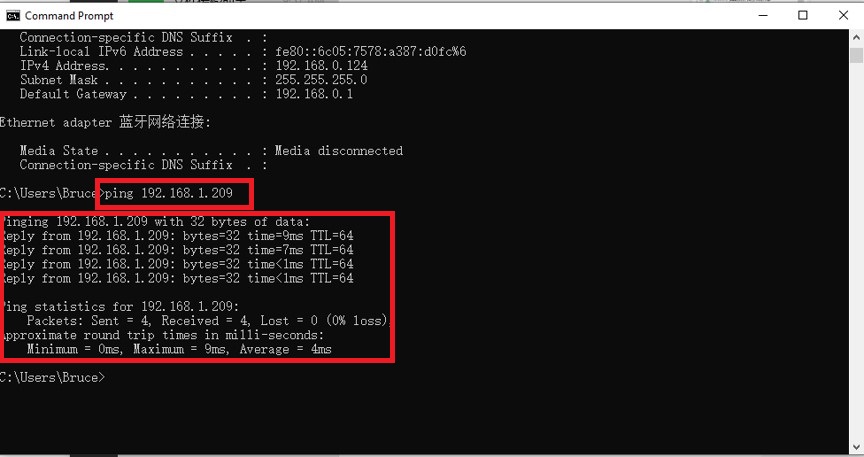
4. Open “Terminal” in your PC (press “Win” + “R”, input “cmd” and click “Yes”), input “ipconfig” to confirm if the settings relate to IP address you set just know were activated. Then input “ping 192.168.1.209” (IP address of printer, this is an example here) to check the network connection between printer and your PC had been established. (Figure 16,17&18)
|
|
|
When you see the similar results like Figure-18, that means network connection between printer and you PC has been established successfully. (Package all received, no lost)